Blacklight MAKEUP
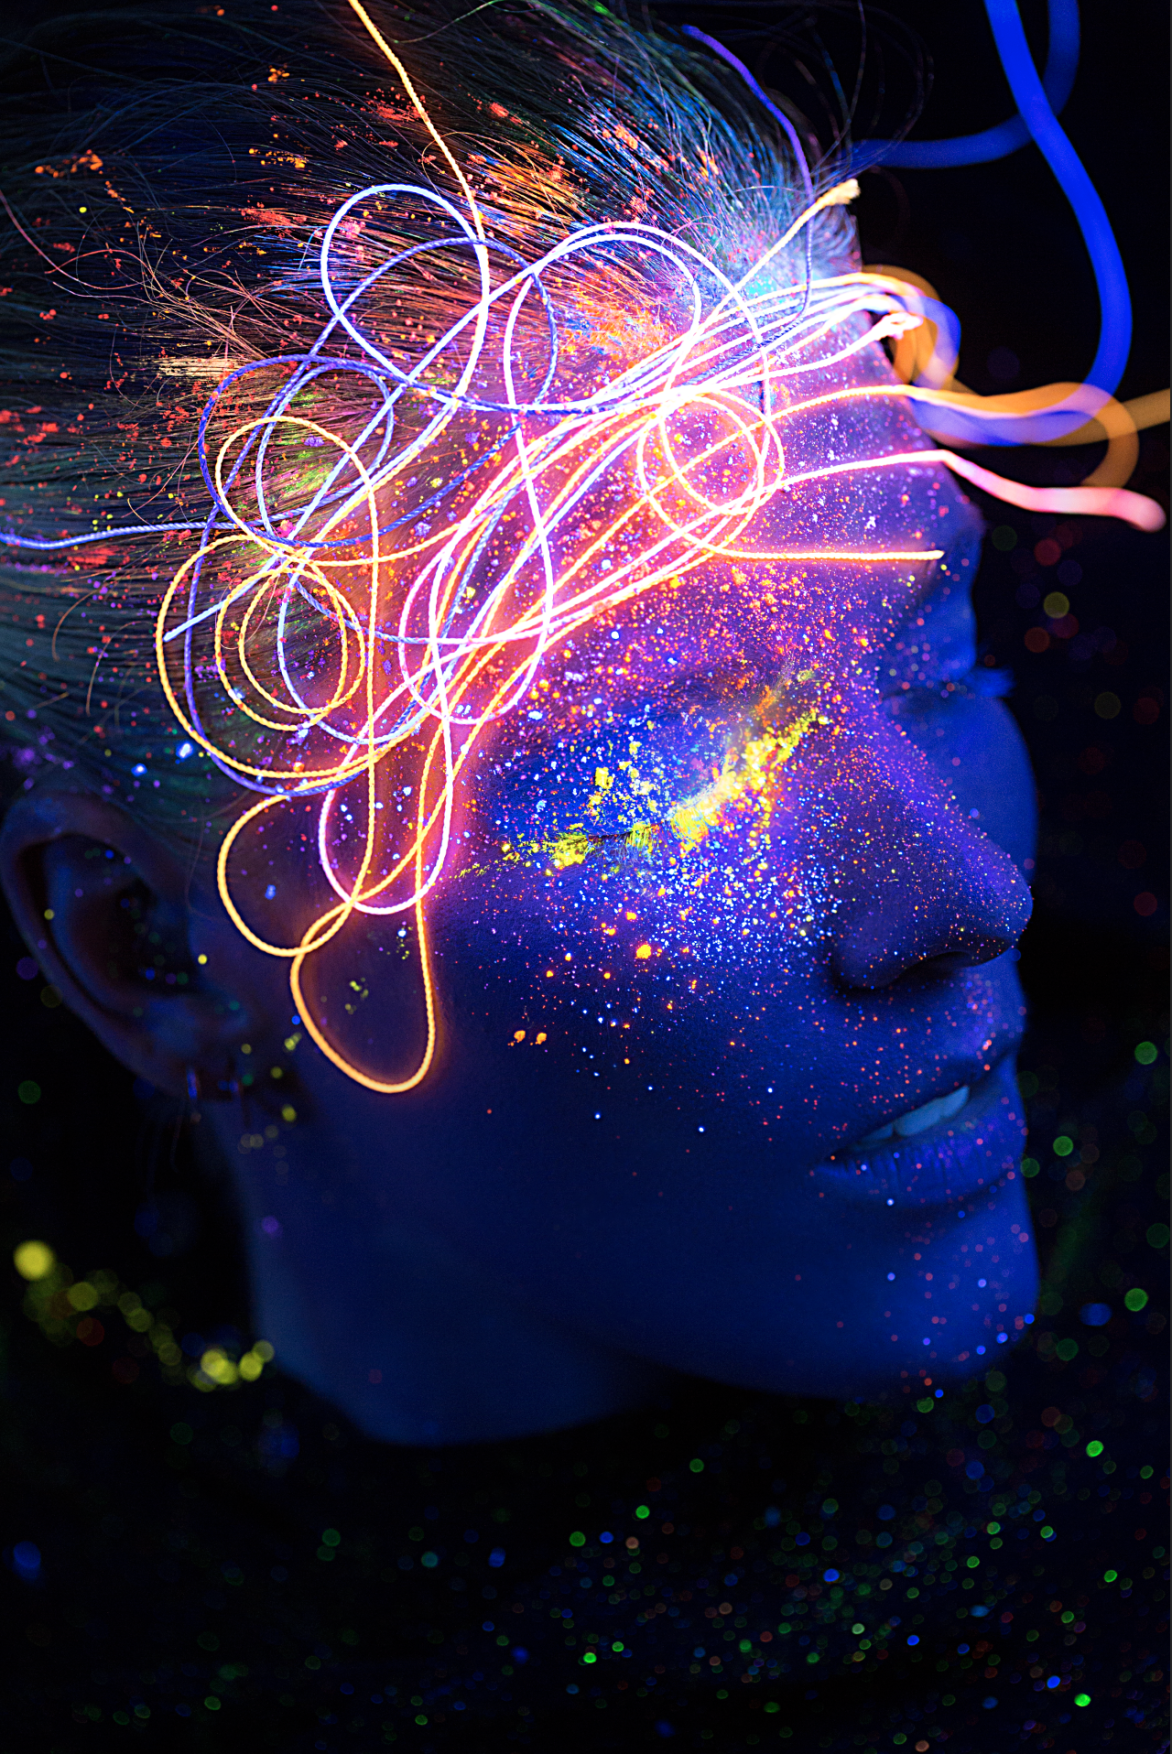
I just shot a new beauty editorial using a blacklight. I want to take you through my process on how I conceptualized this story and the techniques and challenges I experienced while working with blacklight makeup. My blacklight makeup series has three looks, however, working with a new photographer friend named Jessica Pages, enabled us to shoot the progression of the looks. She kept shooting and I kept adding paint till we agreed that we had gotten the shot. My lovely model Gabrielle Cristyne, drove down from Dallas to come play with us. I couldn’t be happier with the results. Here’s how I got there…
I started by reading an art book written by Margaret Livingstone, entitled, VISION AND ART The Biology of Seeing. I was really intrigued by equiluminance. Colors with a strong contrast, but equal luminance create movement visually when used together. Objects appear to float or jitter with vibration. This technique was used by Monet and Mondrian among many other artists. 3D film and art uses the equiluminant colors red and cyan. If you’ve ever looked at a psychedelic poster… you are viewing graphic patterns using these types of color combinations. My goal always is to try to create something that I have never seen on a face.
Right around the same time I was devouring Margaret’s book, Val Garland created an amazing makeup look for Vivienne Westwood for London Fashion Week. Models were equipped with invisible blacklights attached to their heads that shined blacklight onto their faces. The makeup was blacklight reactive and glowed as they models walked the show. It hit me… I could achieve blue skin and not have to paint it. My main fear was that painting a graphic design in blue and yellow for example, would look cheesy. Blacklight gives a haunting moodiness and I had to try it.
LOOK 1
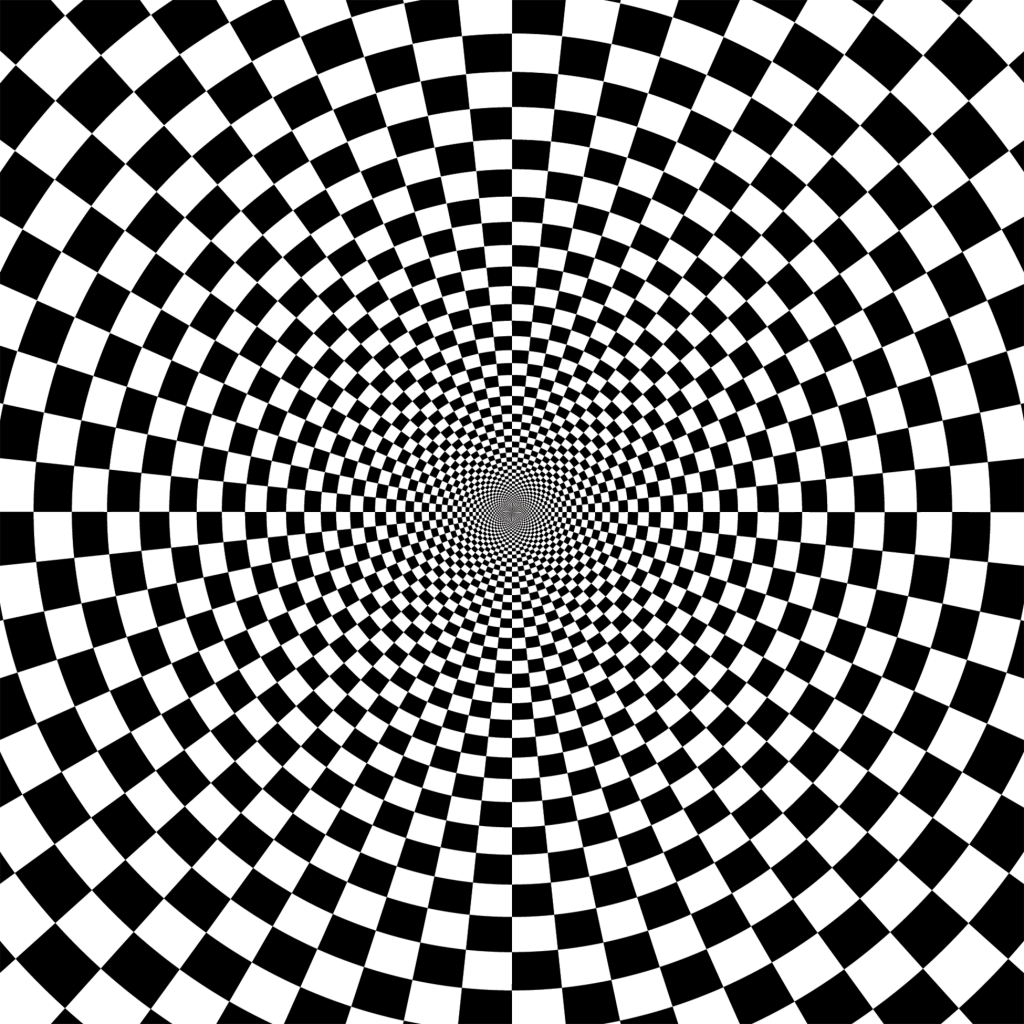
I found this vector file on www.shutterstock.com and purchased and downloaded it. I chose it because not only does the pattern create vibration visually, it also would be easily cut into a single piece with my die cut machine.
Then I stumbled upon this image. I liked the color palette and the painterly application using a graphic pattern.
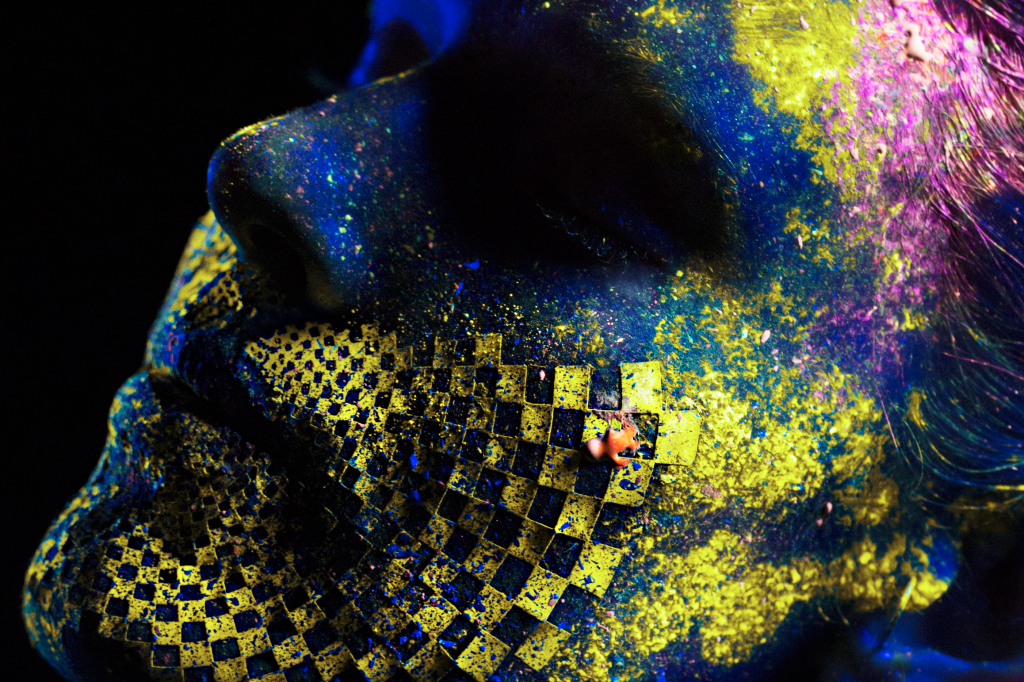
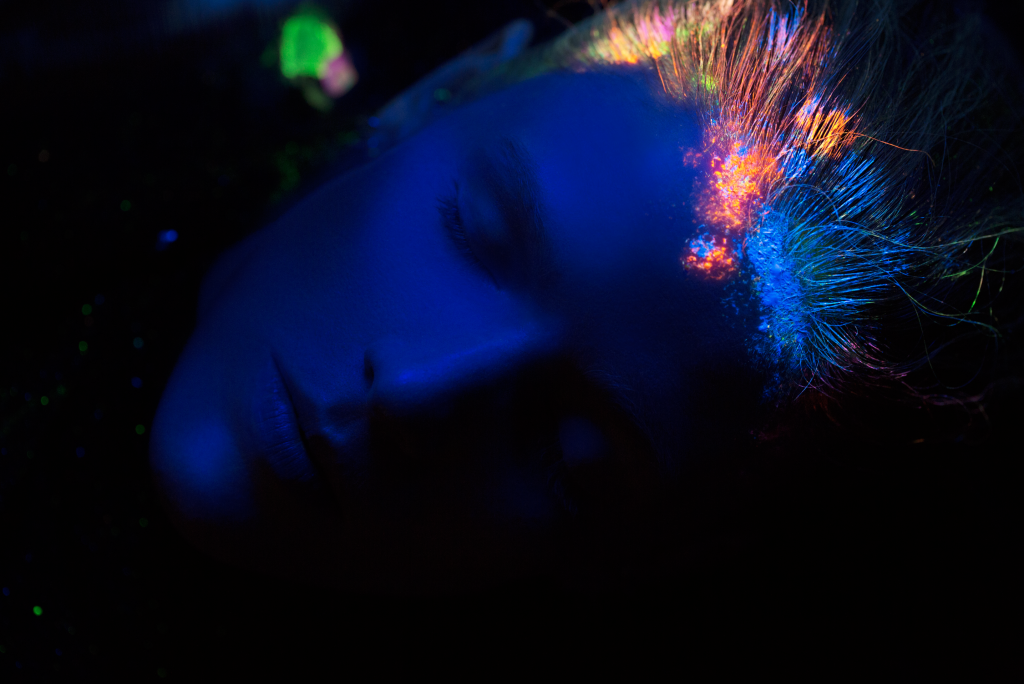
I then die cut the pattern on white adhesive vinyl and removed the inverse. I was left with a sticky pattern that I could apply to the face. I painted the pattern with blacklight reactive yellow liquid makeup and adhered it to my model’s skin. Here’s what it looked like after adhering the piece and and splattering paint to blend it. I painted the skin with black makeup that was reactive prior to applying the piece to ensure that the skin would read really blue.
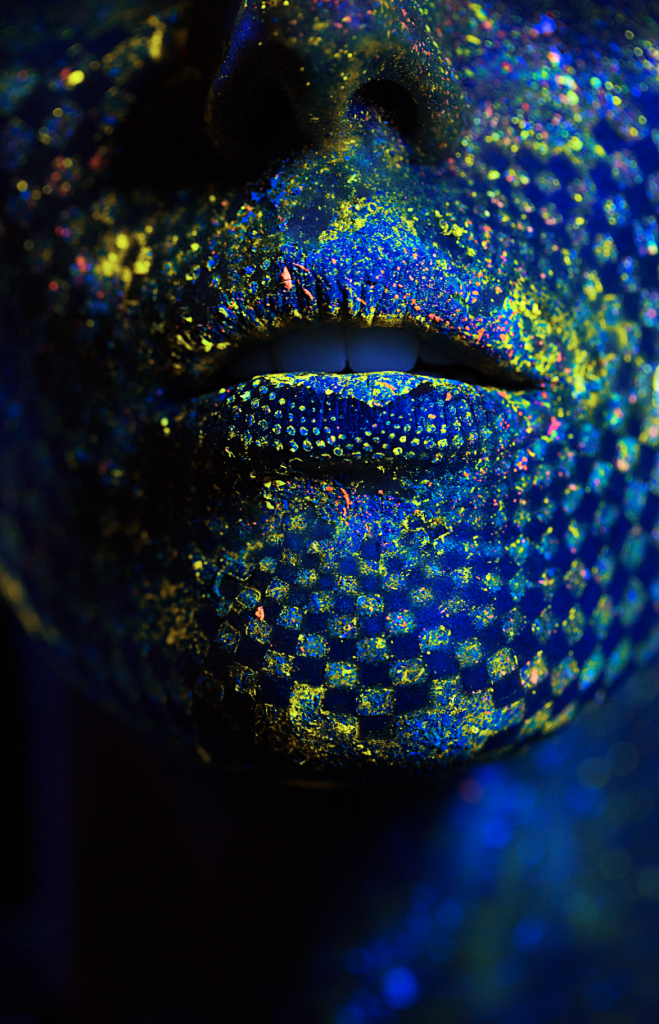
This look was a bit strong for my taste…. so the final step was to remove the piece and cross my fingers that it read like I wanted. I don’t know if I created visual movement with this lip shot, but regardless of my goal… I’m stoked with the outcome. If I was to do the look again I would have painted over the piece with yellow entirely. I believe it would have created more vibration visually. Live and learn.
LOOK 2
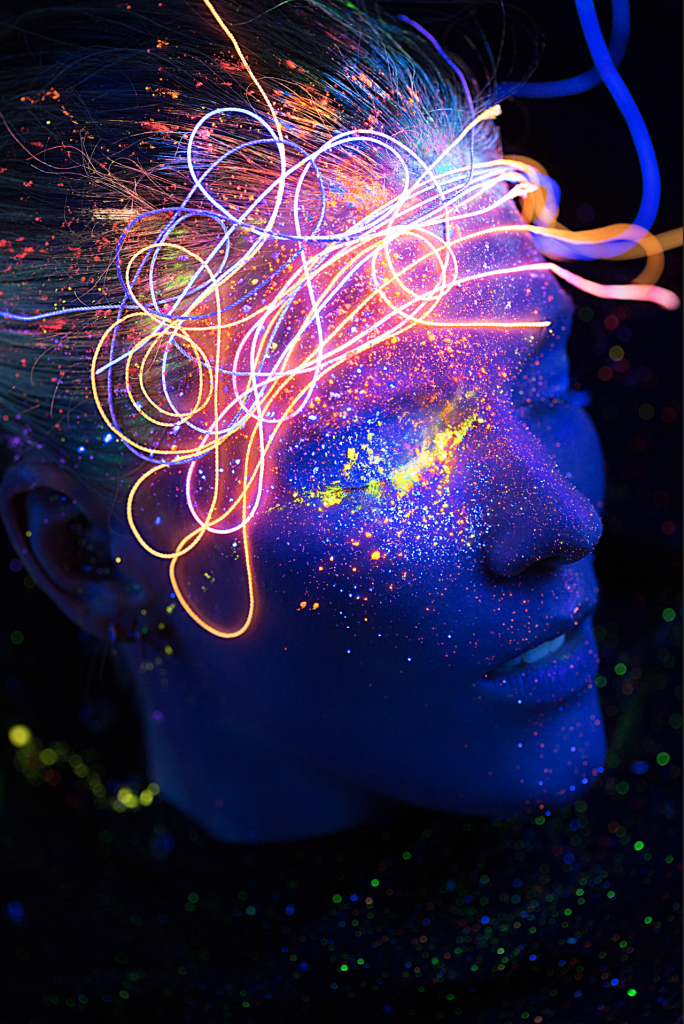
For my second look I played with lipstick tinted string, loose pigments and liquid paint around the hairline. I started with my go-to skin combination of KRYOLAN Shimmering Event Foundation in Pearl to prime, then followed with GIORGIO ARMANI Luminous Silk Foundation. Foundation is a must with a blacklight. It shows every bit of hyper pigmentation. My model has freckles so omitting foundation wasn’t an option. I skipped the powder and added a bit of NARS Liquid Illuminator in Copacabana to the cheekbones. After stippling the paint to the hairline, I prepped my string by dragging pieces through the tip of different shades of reactive lipsticks.
What I saw next was unbelievable to me. The string transformed into a light source. This was ordinary string I purchased at a craft store. What I learned from using blacklight makeup is that the pigments in all formulations were best used if splattered or dropped on the skin. Blacklight makeup streaks and blurs when blended. I could not get a clean airbrushed look with any of the products I chose. If I touched the makeup, it created a blurred effect and I lost the detail of the skin. I’ll list all products in detail at the bottom of the post. Using five different brands of makeup for this project with varied textures, I found all to have the same blurred finish when blended. For this shot I had my model lie on the floor and I laid the string across her face, so gravity wouldn’t work against me. Loose pigments were sprinkled on the face in this next image, not splattered like in the first look.
LOOK 3
I chose to have my model Gabrielle, return to the floor to ensure that the liquid texture of the next look would not travel with gravity. I started with a reapplication of my go-to skin used in LOOK 2. The goal was to capture a strong macro eye shot. I opted to only make up half of her face. You can see in this first image that the skin on her right side of her face is undone and the freckles are visible without foundation.
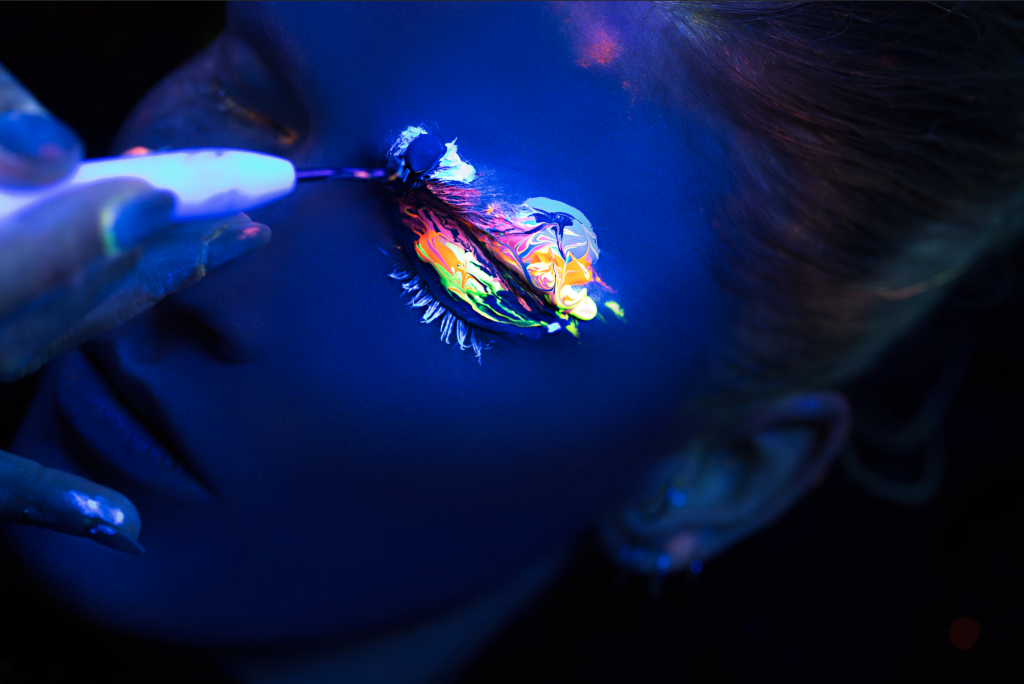
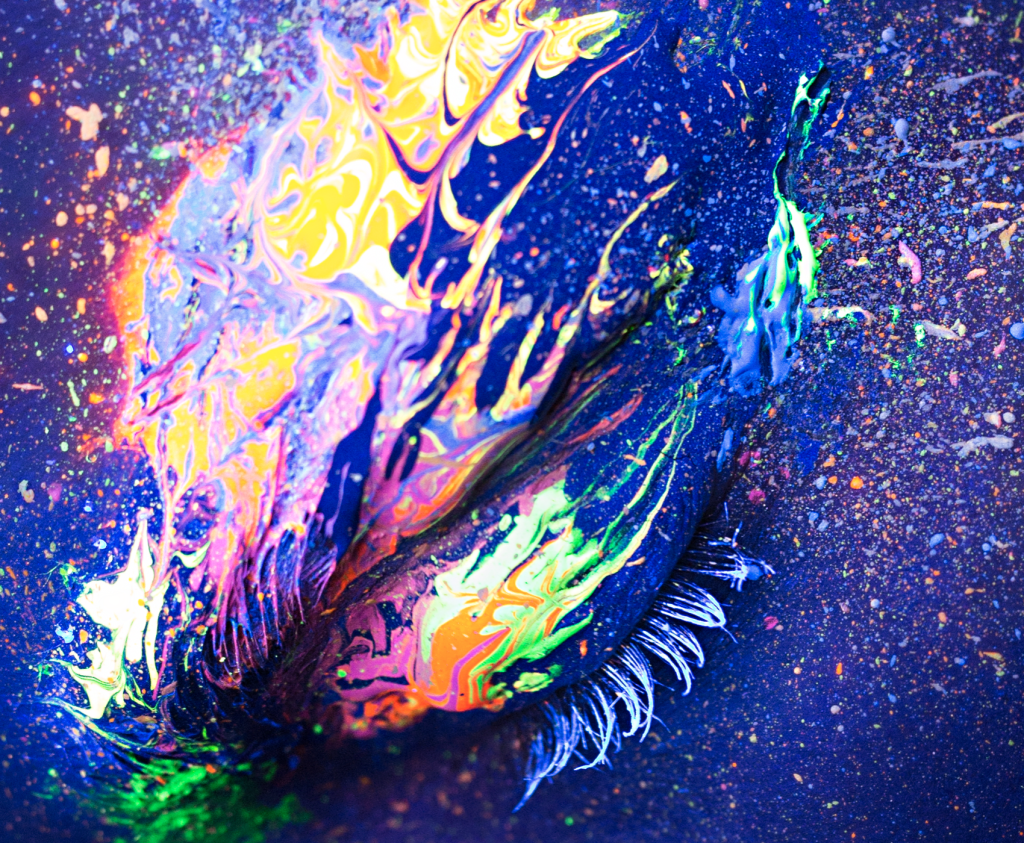
I started with a cream stick in white on the lashes. Then I added a few blobs of different colored paints close to each other on the eye. Using a nail art tool I dragged the colors into each other to create the swirls shown. After adding a bit too much I decided to splatter paint around the eye to blend the eye feature in a gradient way.
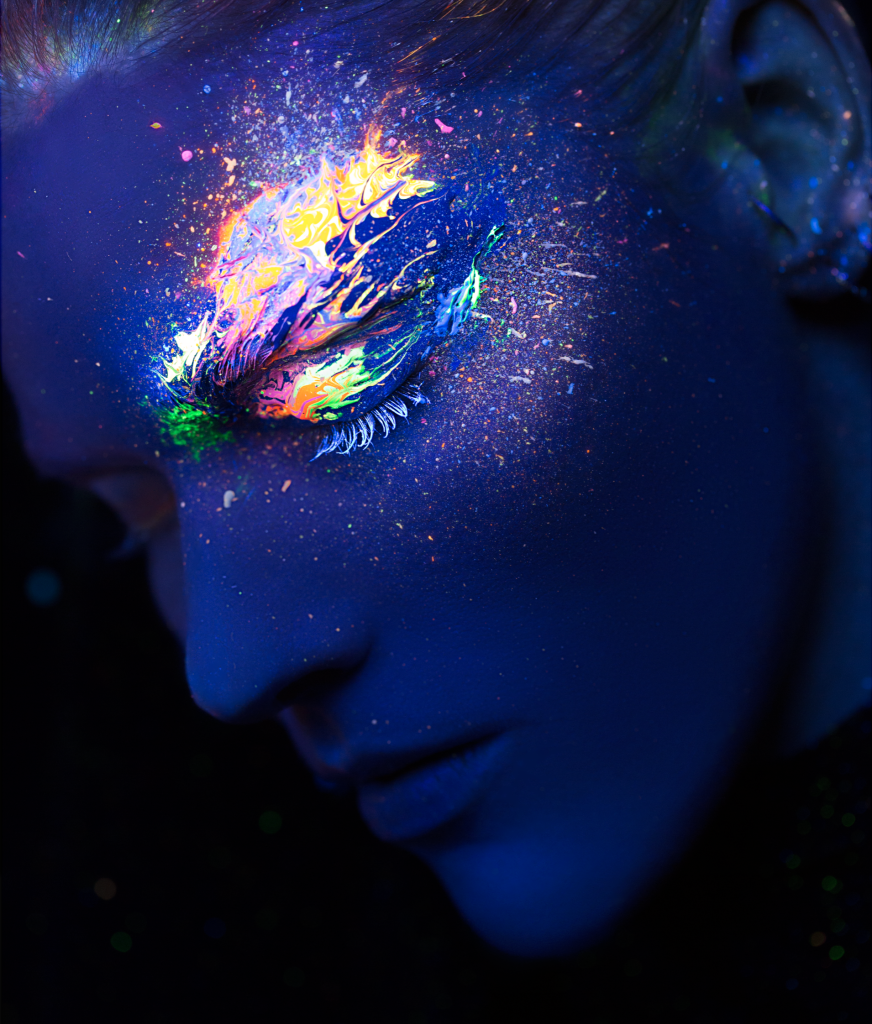
Here’s a close up of my eye look. This was the goal with my third look… getting a shot that read well with the entire face visible was a bonus.
TECH TIP: Apply blacklight makeup using a blacklight instead of a typical light source. That probably sounds like a no-brainer, but when we flipped the lights on after shooting each look, I was horrified. It’s amazing how differently it reads. I purchased a clamp light and a blacklight bulb for my makeup area.
PRODUCTS:
LOOK 1 – MOON GLOW Neon Face and Body Paints in Black, Yellow, Blue and Orange, KRYOLAN Cream Color Circle UV – Yellow Shade, MAKE UP FOR EVER Fluo Night Black Light Pigment in Yellow
LOOK 2 – MOON GLOW Neon Face and Body Paints in Blue, Orange, Pink, Yellow and Green, MAKE UP FOR EVER Fluo Night Black light Pigments in Yellow, Fuchsia, Purple, Orange and White, KRYOLAN UV Color Stick in Orange, Red, Pink, Violet to tint string.
LOOK 3 – MEHRON B.L.A.M.E. – Black Light Activated Makeup Essentials in White for lashes, MOON GLOW Neon Face and Body Paints in all colors.
I invite you to SUBSCRIBE to MAKEUP MEETS TECH for posts that are all things tech. As always… I truly appreciate the likes, pins, shares and tweets. Join me on social for daily posts. For a makeup related tech post… check out Graphic MAKEUP Just Got Easier for a breakdown on how to use a die cut machine to create custom makeup appliances. I encourage comments and questions… we are all here to learn.
Absolutely fantastic work Sara. Such amazing shots. I’m lost regarding the adhesive vinyl which sounds brilliant so I guess I need to read your other post :-))) truly amazing. I agree. You have a brilliant future ahead! Going to try to make time for a shoot after Christmas to blast off the new year 🙂 All the best and congrats on the signed photo from Val too! Regards from Sweden
Thanks Kim! Check out my post Graphic Makeup Just Got Easier . It explains how to use a die cut machine. This is the tool I use for creating graphic patterns on the face. I appreciate the comment here. All the LOVE to you!
You are one clever lady Sara! Loved this shoot and your experiments, loved the contrasting colours and patterns too and how they overlap and layer creating a 3D image. You have a huge future ahead of you, I hope your ready for greatness! And hopefully let me assist you one day if I ever make it to the U.S! I miss mastered so much! Feel stuck in a rut of weddings at the moment with no time to do anything creative outside of that. So Thankyou for the inspiration in the mean time to keep me dreaming of ideas I can try when things slow down.! Wishing you a very Merry Xmss and a wonderful, exciting and prosperous 2016 xox
Awww Aleksandra,
So sweet of you!! I miss Mastered too. I forced myself to come up with new interesting work. I shot this on my only day off prior to Christmas. I had the itch too!!! Weddings are tough, I did them for years. They are creativity suckers, LOL. Much LOVE to you and have a lovely holiday season!!!!