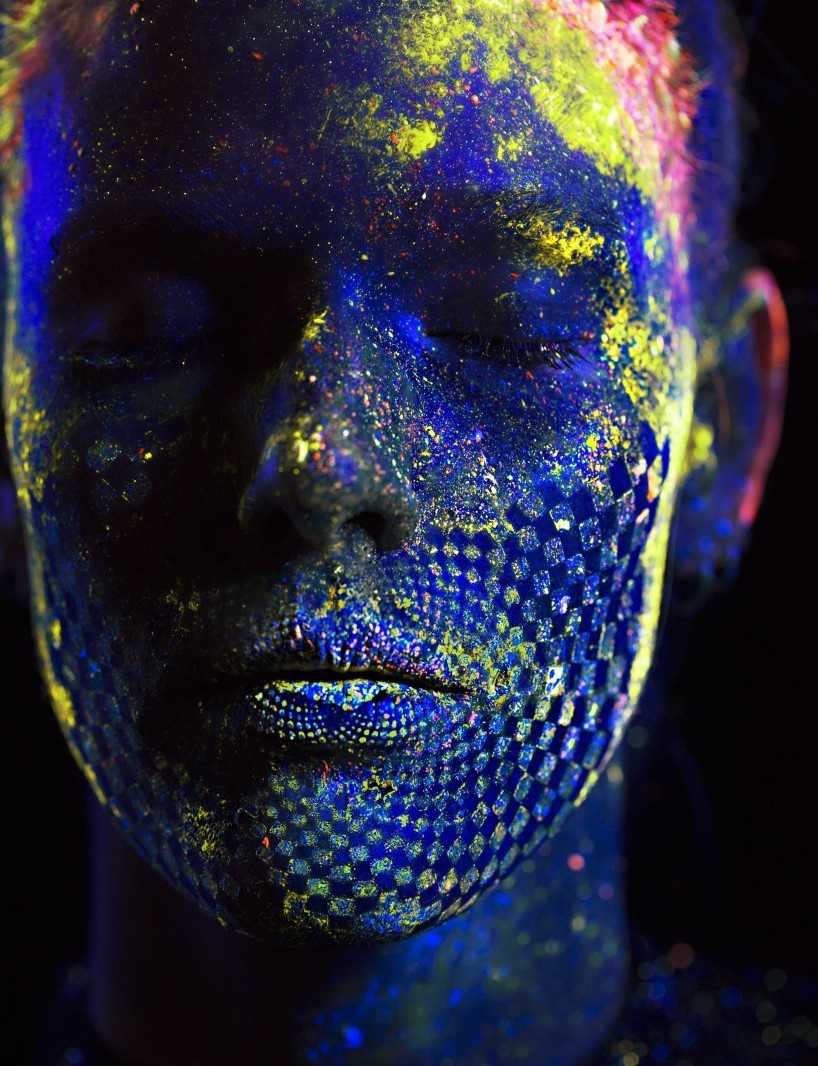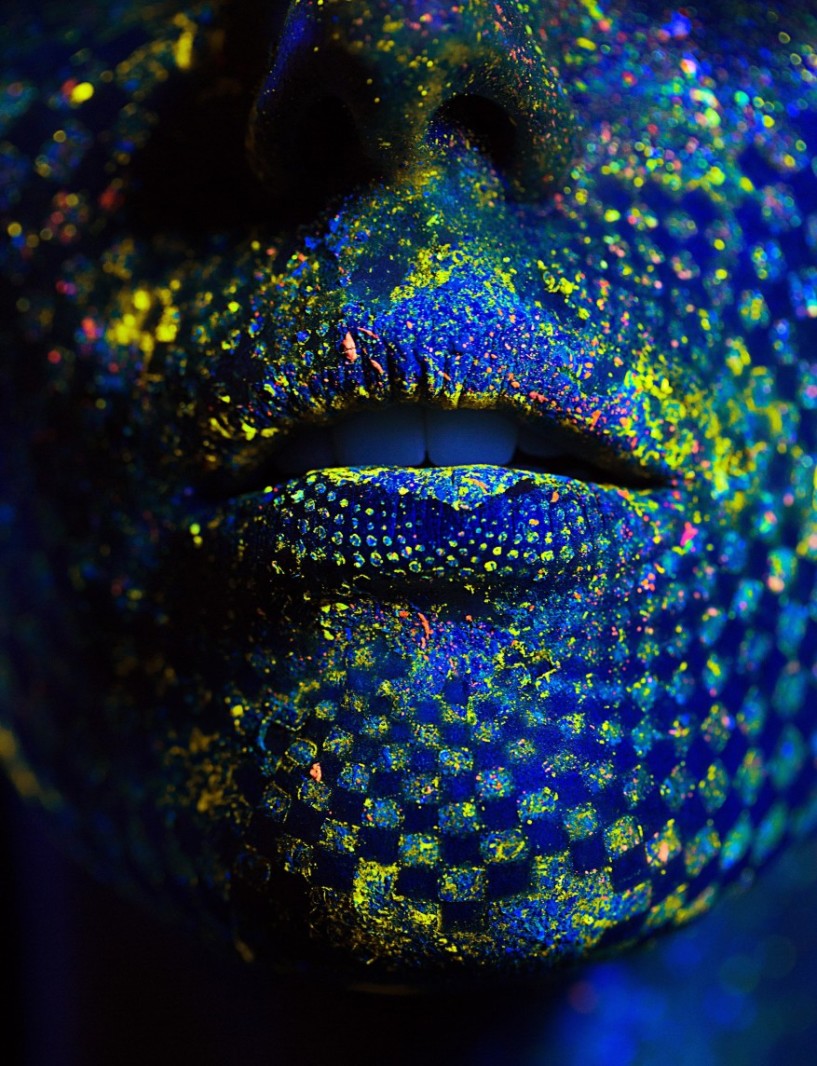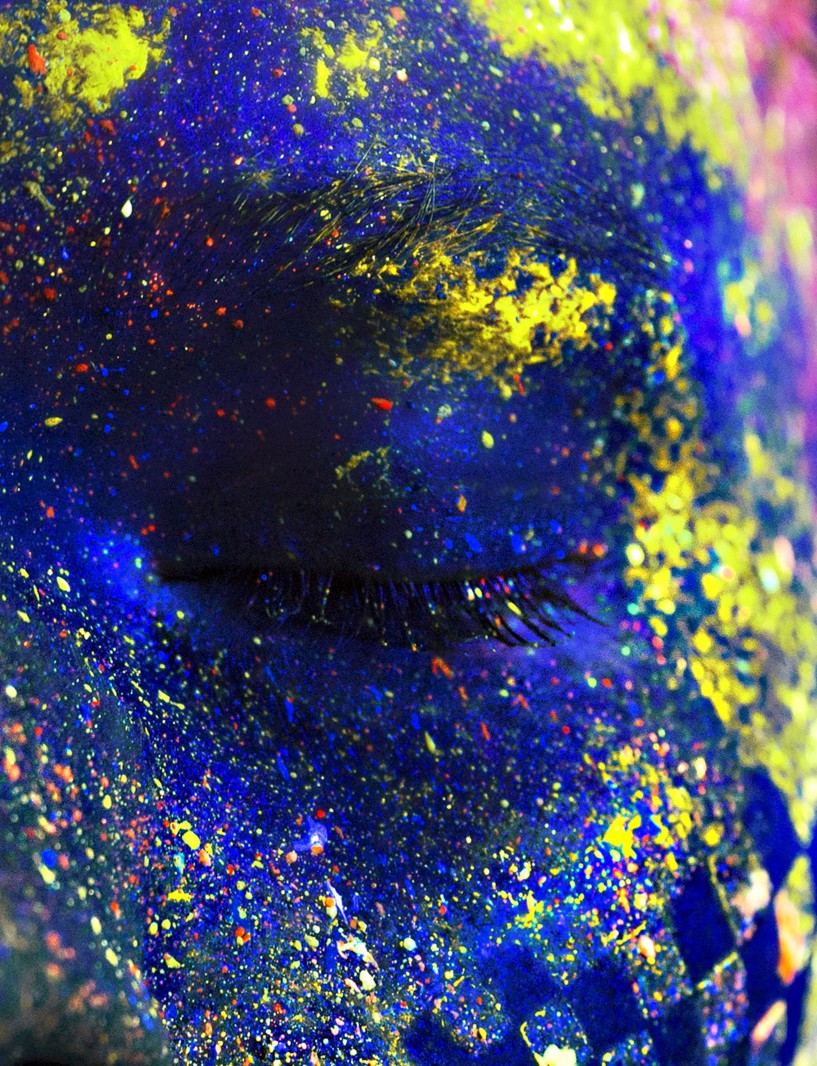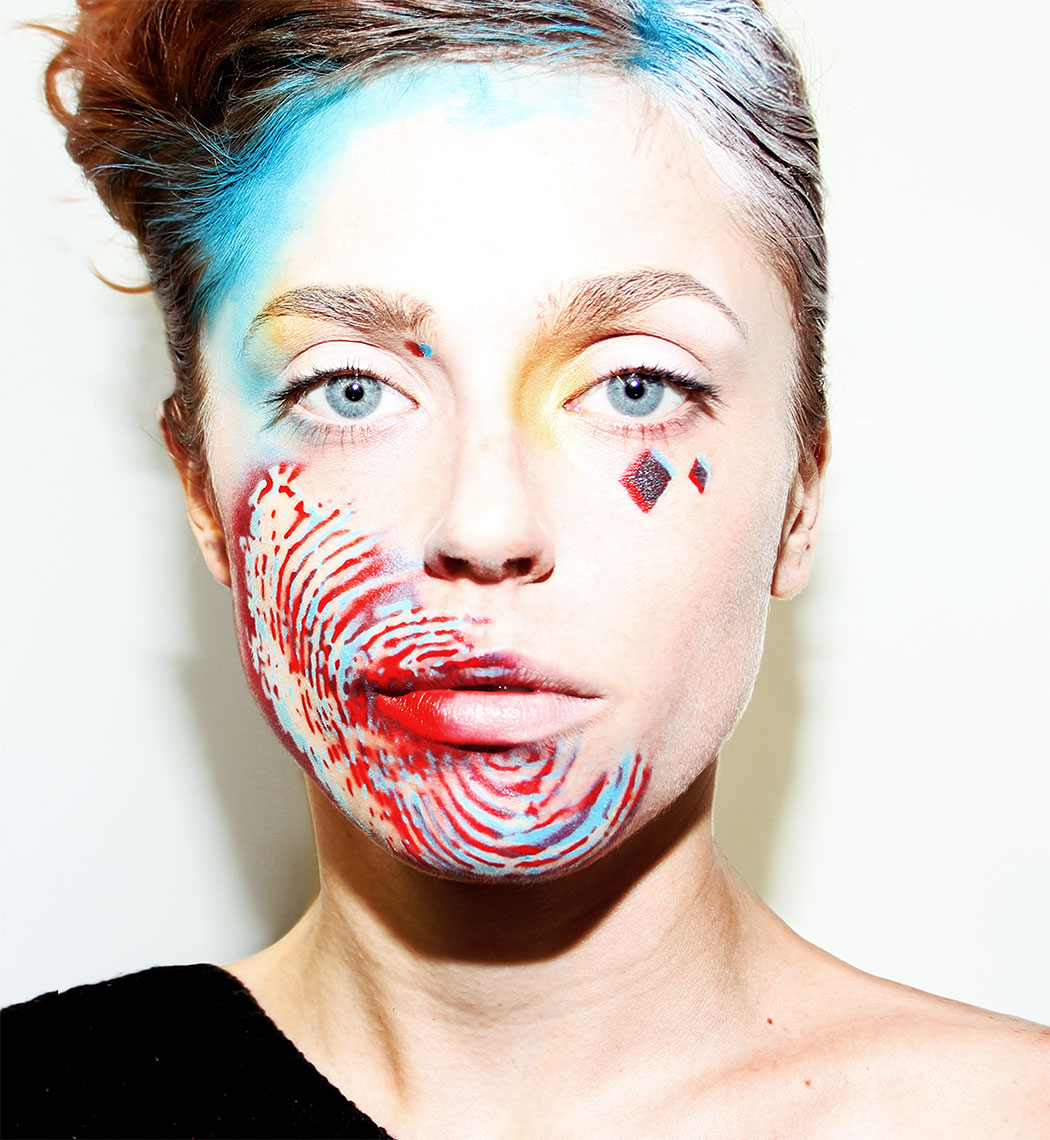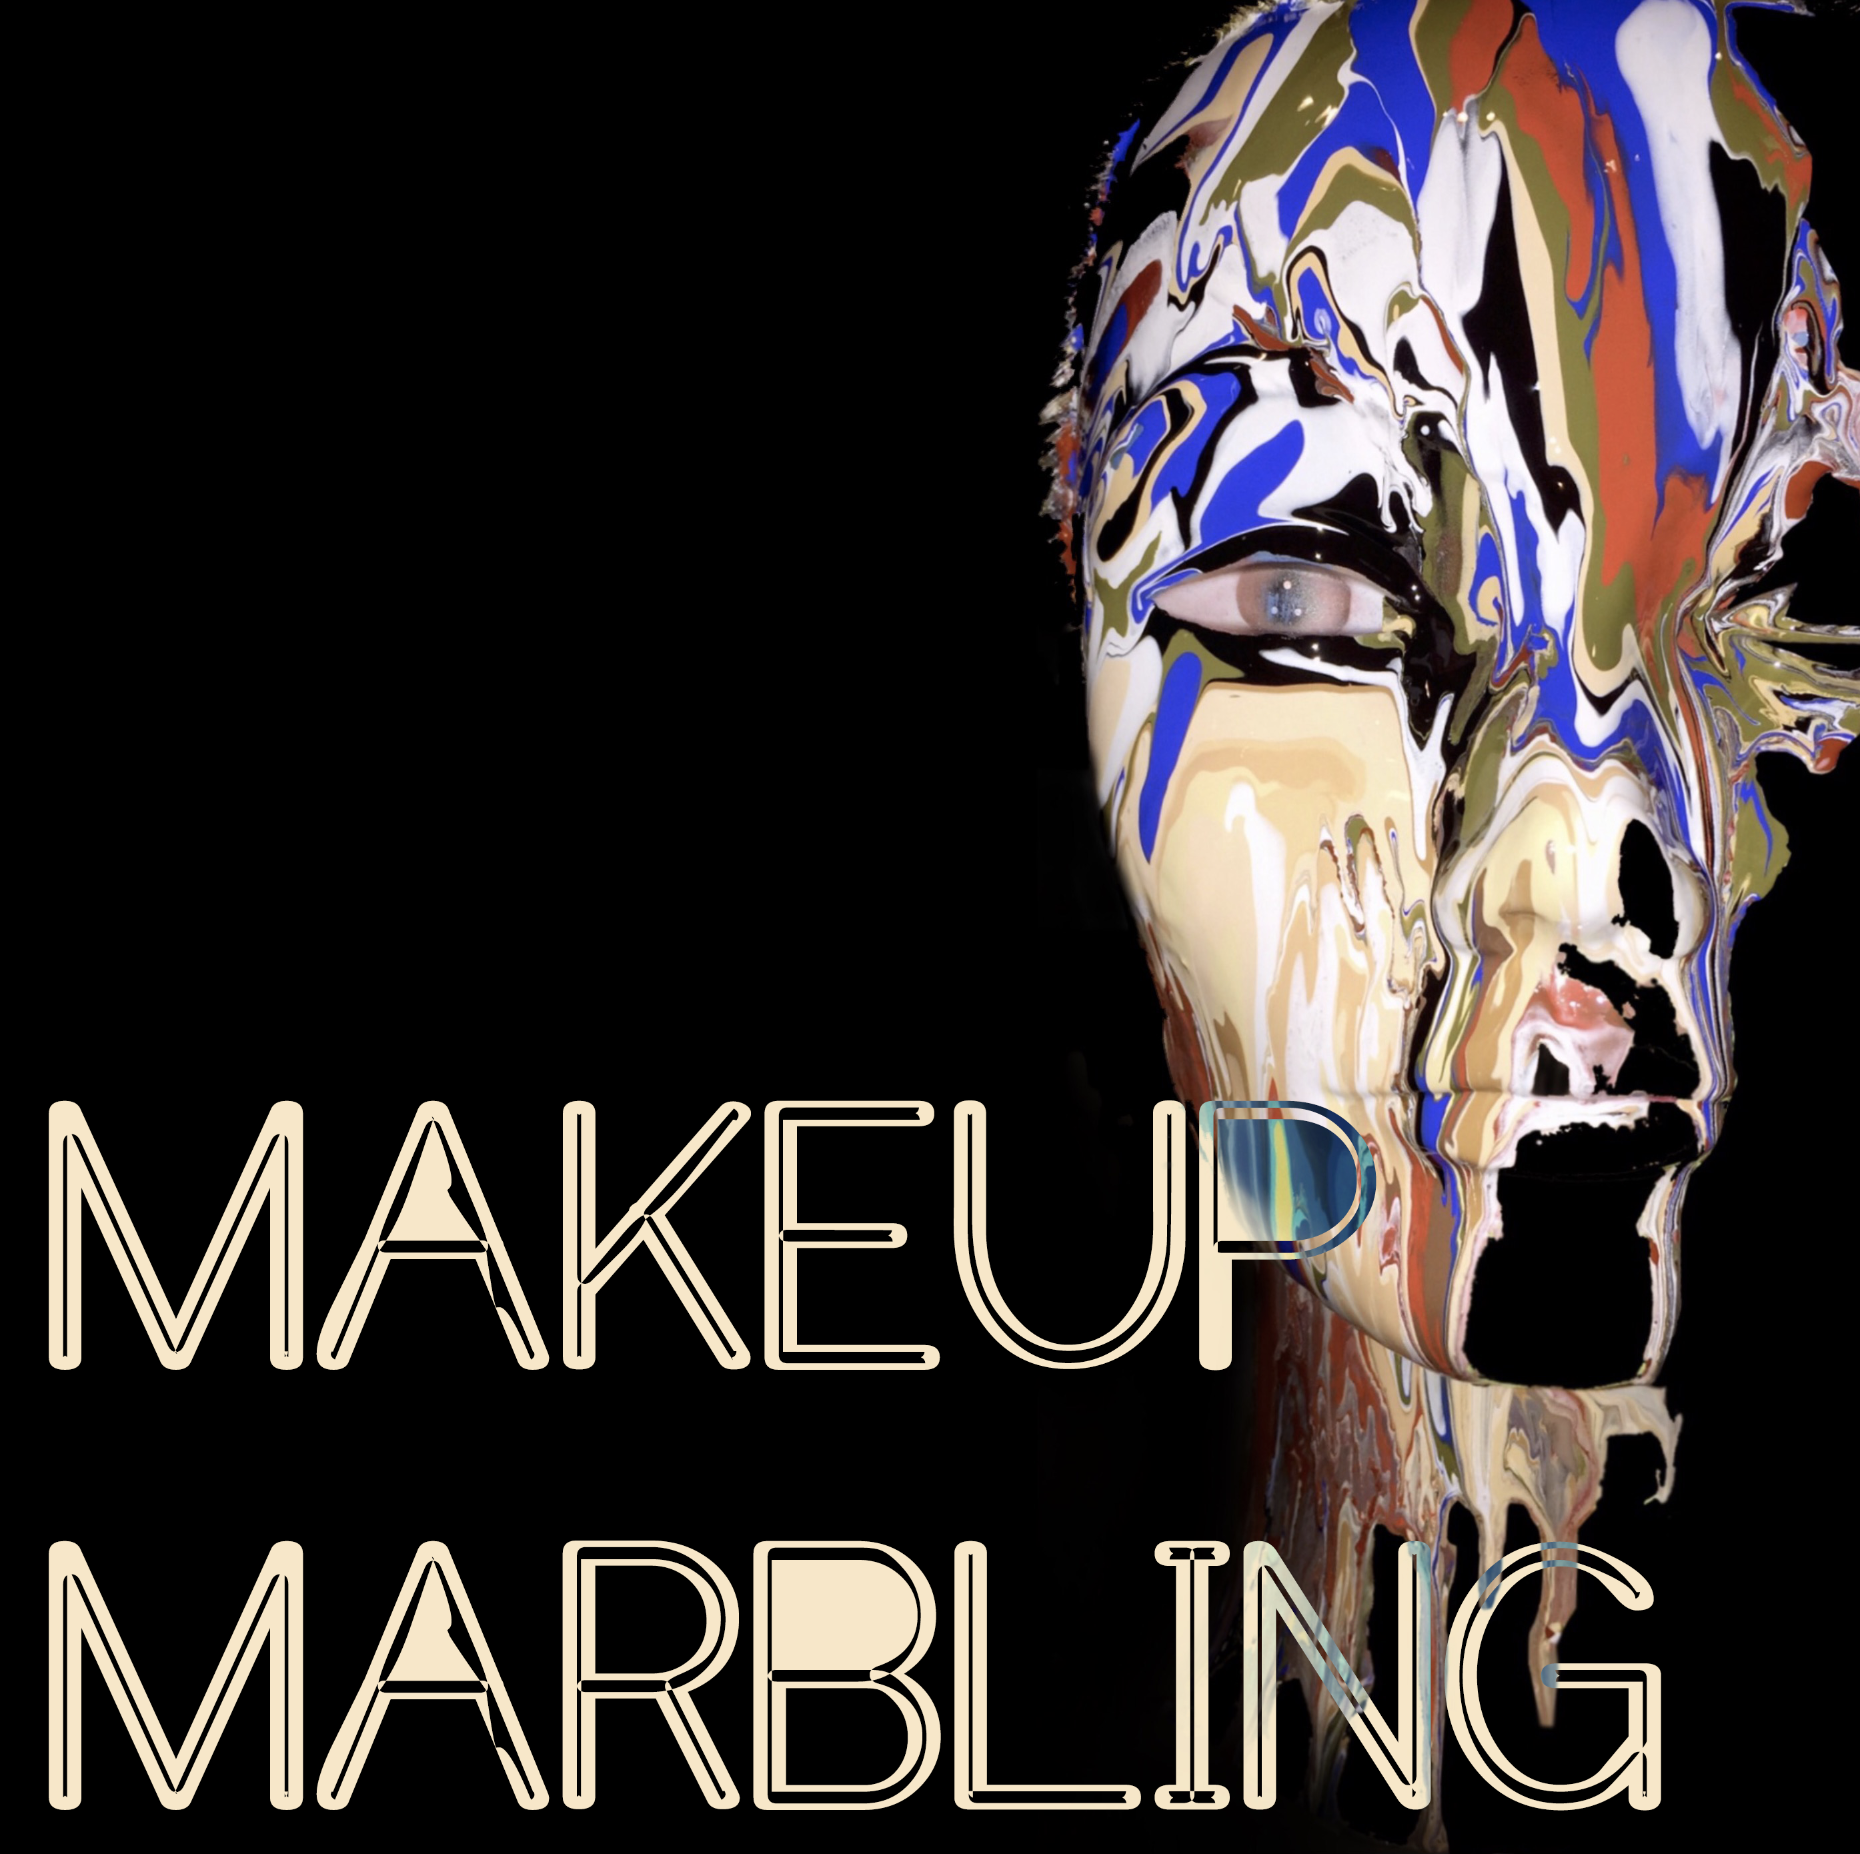
Meet my mannequin … Her name is Viola, LOL. When trying new techniques I practice on Viola prior to attempting my ideas on a real face. This step helps me work out all the kinks and nail down my placement and color balance. I’ve posted a couple pics on social of my first attempt at makeup marbling. I have been brainstorming an idea to create an effect that I have yet to see done on the face realistically. I will reveal that technique and concept once I figure it out. I think if I am to successfully execute the technique I hope to get it published…. I’ll keep you guys in the loop for sure. During my process… I always stumble upon many things and this experiment in particular was one of my happy mistakes.
I’m constantly looking to upgrade my body of work and get new images in my book. After this experiment, I realized that this technique could be book worthy and publishable too. I decided to shoot a beauty story using this technique while in LA recently. Though I can’t reveal my final images as of yet; here’s a couple images of my process.
I find YouTube very useful when learning new techniques. I rarely watch beauty tutorials, however, tutorials on painting and drawing are my jam. This technique is called liquid painting and is typically used on canvas. The technique involves dropping liquid paint in various shades to the same location multiple times and allowing gravity to do its thing. The skin is much different than a canvas with its peaks and valleys. Gravity doesn’t behave the same on a face, as it does on a flat surface, obviously.
I began at the top of the forehead in the upper right recession. Black liquid airbrush makeup was dropped onto the face first and was followed with multiple shades and repeated over and over again. The more color you add; the more the paint travels creating the marbled effect. 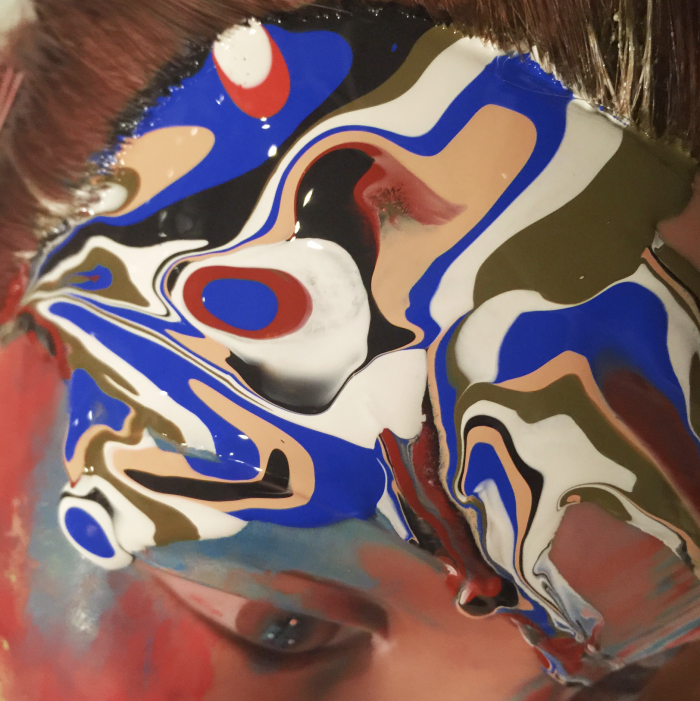
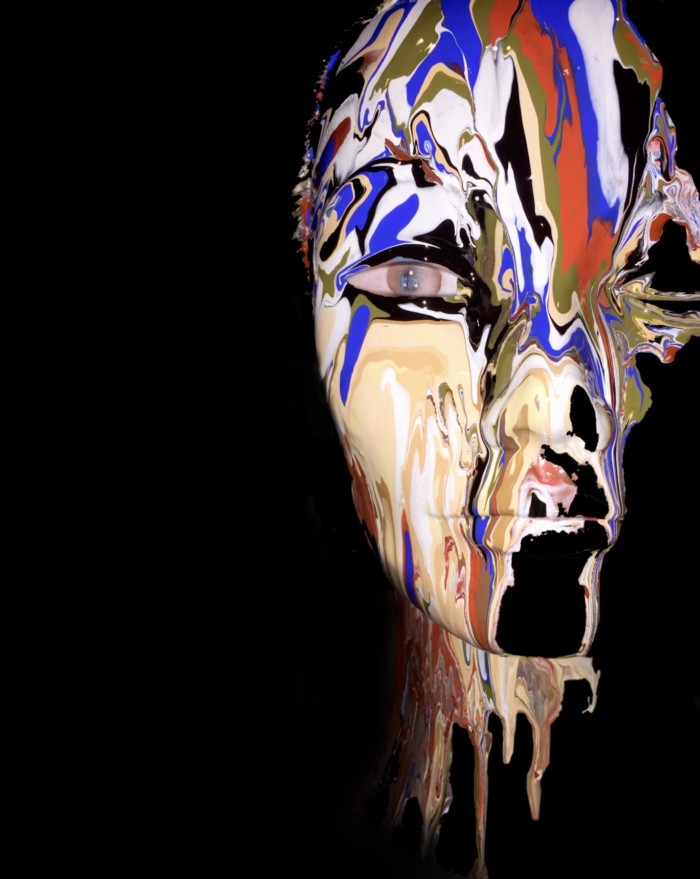
During this process I learned that my model must be lying down to have more control over the result. I moved my mannequin’s head from side to side to allow for the paint to move in the direction I wanted my end result to reside. This first snap is a close up of the marbled effect. Viola, as you can see, still had prior experiments on her face and the skin peeking through made me realize that the marbled effect would be much stronger if it didn’t compete with my model’s skin tone. Many of my concepts start with a physical application followed by fine tuning in Photoshop to aid me in visualizing placement and details. This concept was no different. This next image I dragged into Photoshop and selected everything but the marbled effect and her eye. I filled it with black and really liked the way it read. The marbling jumped off the screen when the skin tone was absent and her eye popped.
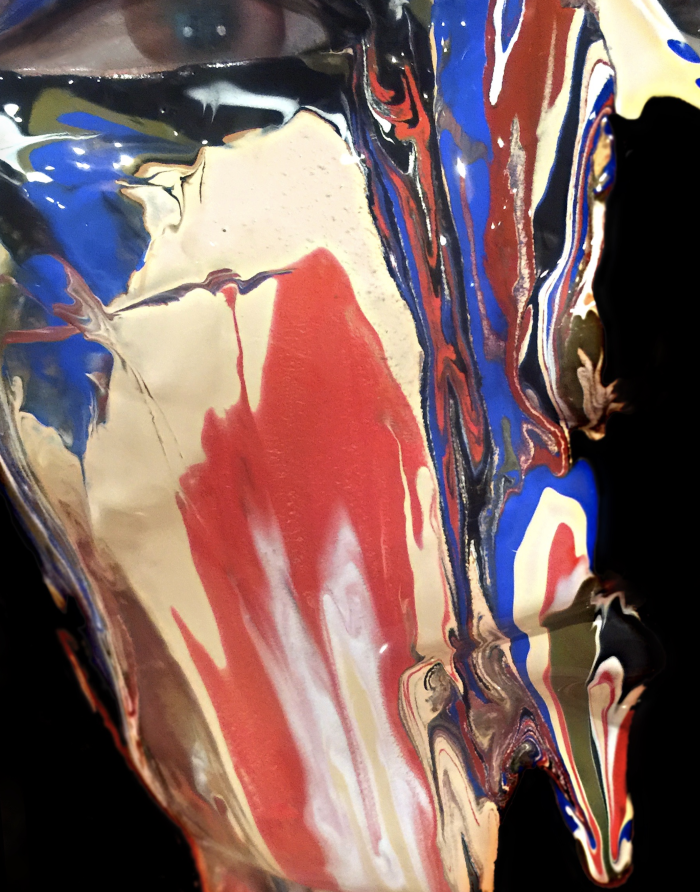
This last image is the entire face with the Photoshop treatment applied. I found that going through this process gave me an understanding that I needed to paint my model’s face black prior to applying the marbled effect. I also needed to use a black makeup that would not transfer to the liquid marbling and muddy the effect. Once the marbling is applied, I learned that you can’t touch it. The paint looks best when you allow the liquid to take shape on its own. “Let the makeup take shape and NOT touch it?”… a challenge indeed. Another notable find was that the technique reads best sooner than later. The longer the makeup spread, the more the paint mixed together and lost its shape. So be quick if you try this one and have your camera ready to shoot the process.
PRODUCTS:
MAKEUP MARBLING EFFECT – Numerous shades of MUD Cosmetics HD Air
I invite you to SUBSCRIBE to MAKEUP MEETS TECH for posts that are all things tech. As always… I truly appreciate the likes, pins, shares and tweets. Join me on social for daily posts. For a makeup related tech post… check out Graphic MAKEUP Just Got Easier for a breakdown on how to use a die cut machine to create custom makeup appliances. I encourage comments and questions… we are all here to learn.
